So, it’s Day 2 and I’ve come to the troubling realisation that I’m not going to get this done in five days. That means that the students might find out that I’m a massive nerd!
So, what did I get done today? Well first I spent the morning helping a group of students assemble a PA system, but after lunch I was able to collect the parcels Brian my DPD delivery man had dropped off.
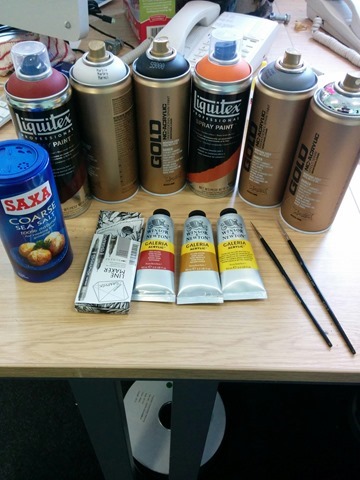
The first one contained many goodies! This is what £50 of paint looks like!
This all came from the lovely people over at Cass Art. First up we’ve got six cans of spray paint two from Liquitex in Red and Orange and four from Montana Gold in Black, Silver, Marble and Gravel. Then we have three tubes of acrylic from Windsor and Newton in a red orange and yellow, perfect for mixing up brick colours. 3 fine liners for Derwent in Graphite Grey and three different thicknesses all in their own special pouch and rounding out the order are two new brushes from Cass Art’s own sable range. The salt which will be used for the aging on the bridges is from Morrisons.
What was in the second parcel, we’ll get to that at the end!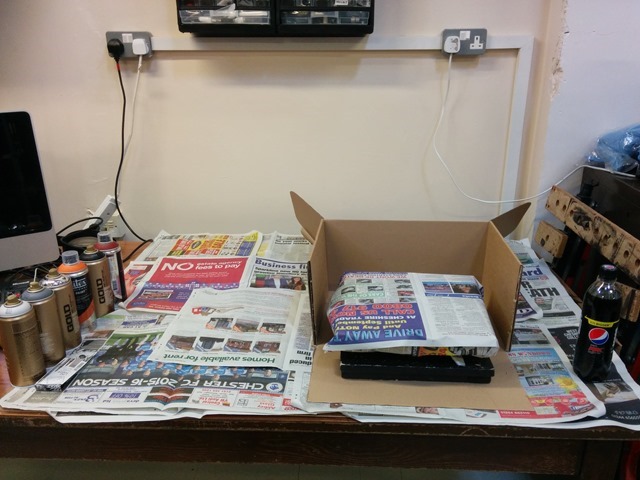
So I prepared my work station. I covered the desk in newspaper and cut up the cardboard box my paints had arrived in to make a spraying station. I had a bottle of Pepsi Max on standby and a massive fan to keep the worst of the fumes out of my face. Now I know I shouldn't spray indoors but as I mentioned, I don't want the students to know I spend my evenings pushing little metal men around a table. I also built what I’m calling a Spray Paint Spindle. It consists of two pieces of wood joined by a bolt but kept apart by a stack of washers. This makes a stable platform that can spin around, meaning when I’m spraying I can rotate the model without getting fingerprint all over it!
As a test I sprayed the pavement pieces first and then, to get away from the fumes for a bit, I went and did some pen work in the office. 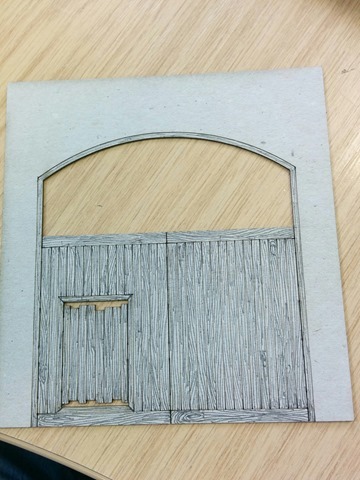
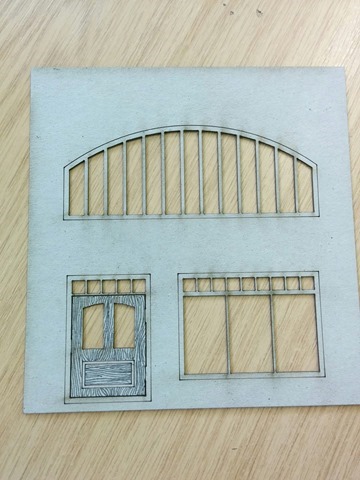
Rather than spend days painting wood grain I decided I’d try out an idea i had. If I draw the grain on first and then work with fairly opaque washes I think I can save myself lots of time and effort. So I penned the gate for the scrapyard and the door for the shop. I chose grey pens over black as grey tends to absorb the pigment of the washes giving a more natural end result.
Next up I built up the box girder bridges. These look great although there seems to be a small mistake in the cut. At the top of the main wall section in the instructions there is a small notch for the inner wall to slot into. This is not present in the finished cut so you have to remove the notch yourself. Although that is easily accomplished with a scalpel.
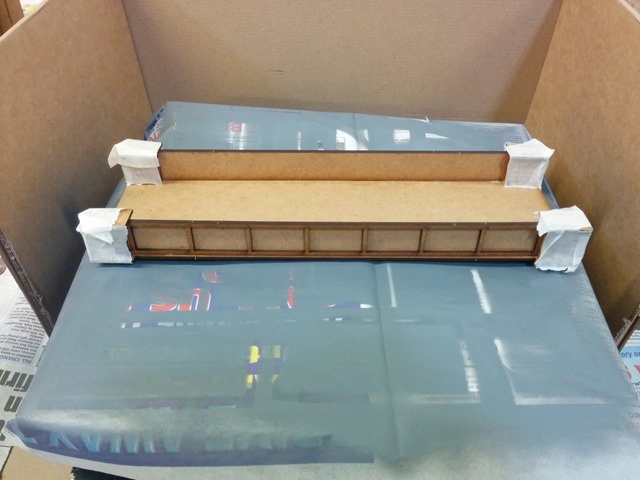
With that complete it was time to start work on the base coat. I’m working from a tutorial on weathering paint which can be found here. Although I’ll be adapting the recipe to my own style. With the glue dried I wrapped the bridge ends in masking tape and put the bridge on my genius spindle.
I gave the whole thing a coat of black followed by a light dusting of silver, before giving the base plate a coat of gravel. The end result looked a little something like this. 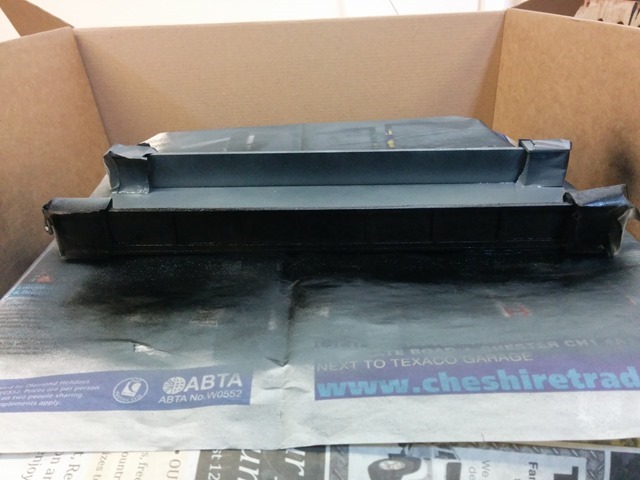
I also sprayed the underneath once the top was dry enough to flip over. I then did the bridge itself. This time I was a little neater in my application of masking tape because I really want to avoid getting black and silver on the brickwork.
With that done I didn't want to start anything else so I quickly sprayed the brick fascias for the arches and then settled down with a good book… What book did I hear you ask? Well, since you asked so nicely, this one!
Check back in tomorrow for more progress… I hope!



Comments
Post a Comment